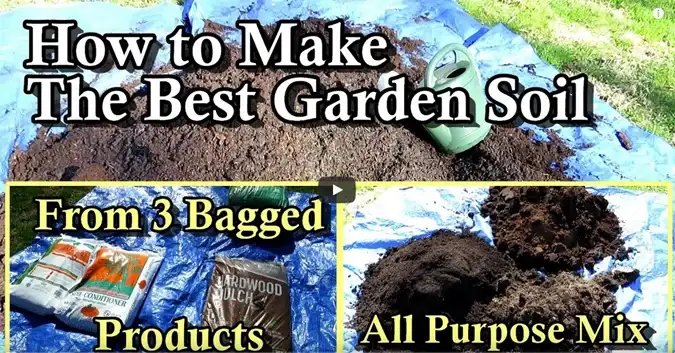

This video will guide you through the process of creating a cost-effective and high-quality soil mix for your garden. By using a few simple ingredients, you can make your own potting mix, container mix, or raised bed mix that rivals store-bought options in terms of performance. This DIY approach will save you money while providing a nourishing environment for your plants. Let’s get started!
Watch Video Here:
Ingredients: To make this soil mix, you will need the following ingredients:
- Shredded Hardwood: This can be obtained from shredded hardwood products available in stores.
- Leaf Grow or Leaf Mold: Look for bagged leaf products, which can add organic matter and nutrients to the soil.
- Peat Moss: Peat moss is a common ingredient in soil mixes. It improves soil structure and moisture retention.
Step-by-Step Instructions:
- Gather the materials: Acquire two bags of shredded hardwood, two bags of leaf grow, and one bag of peat moss. Note that prices may vary.
- Set up a tarp: Prepare a tarp or any large, flat surface to mix the ingredients.
- Combine the ingredients: Place the three cubic feet of peat moss on the tarp. Add the two bags of leaf grow and the two bags of shredded hardwood to the mix.
- Mix thoroughly: Using a shovel or your hands, blend the ingredients together until they are evenly distributed. Make sure to break up any clumps and ensure a uniform mixture.
- Optional: Add perlite for premium mix: If desired, you can enhance the soil mix by adding a couple of handfuls of perlite. This will improve aeration and drainage.
- Water-soluble fertilizer: Water the mixture with a water-soluble fertilizer, such as Agri Thrive or fish emulsion. This will provide nutrients for your plants and aid in breaking down the shredded hardwood.
- Customize with compost: If you have your own compost, you can incorporate it into the soil mix. Mixing equal amounts of the newly created mix and compost is a great way to enhance the soil’s fertility and increase the quantity of material available for your garden.
- Let it soak: Allow the mixture to sit and soak for a day, ensuring that the water-soluble fertilizer is absorbed.
- Finalize and use: After the soaking period, mix the soil again to ensure uniform moisture distribution. Your DIY soil mix is now ready to be used in various applications, including containers, raised beds, and garden beds.
By following these simple steps, you can create an inexpensive and high-quality soil mix for your garden soil. This DIY approach allows you to save money while tailoring the mix to suit your specific gardening needs. Remember, you can further customize the mix by adding compost or other amendments. Enjoy the benefits of a nourishing soil mix and watch your plants thrive without breaking the bank!